How to carve ham step by step
Utensils and knives to carve ham
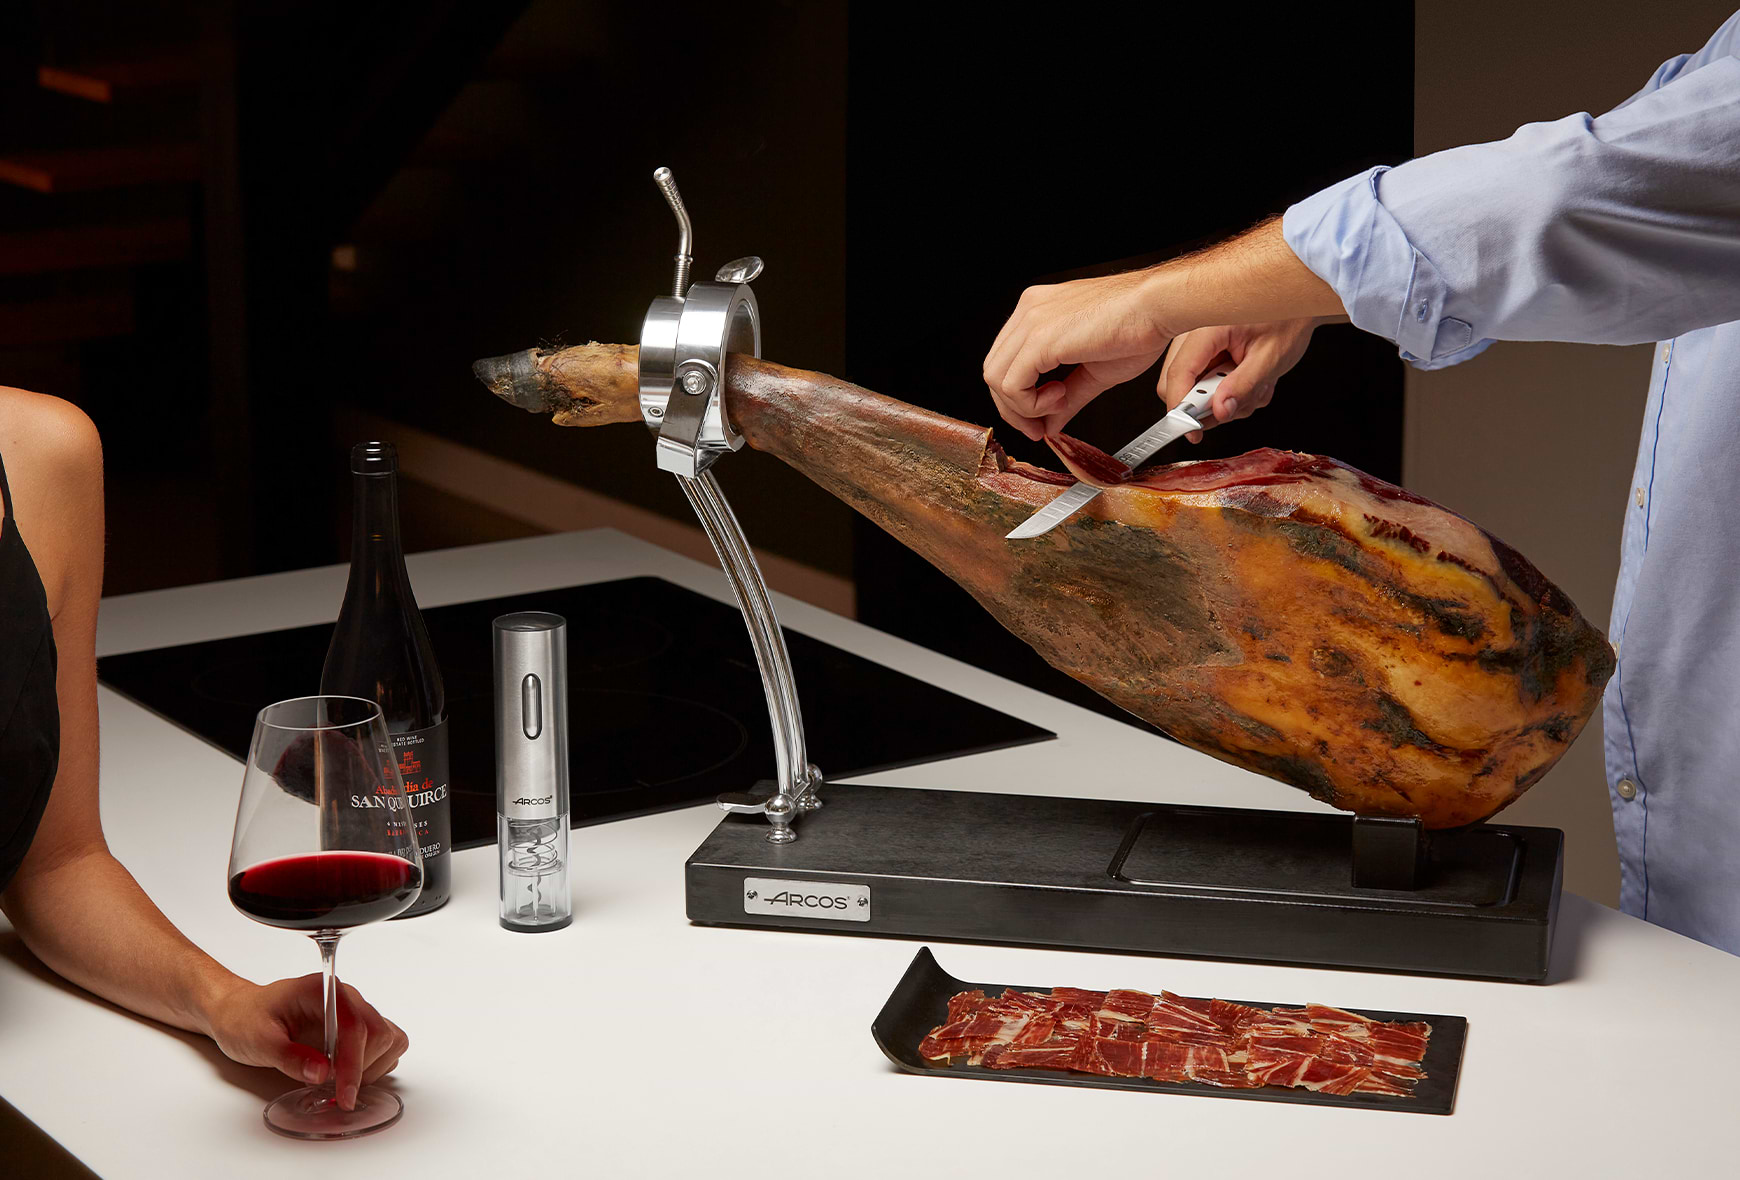
Iberian cured ham has become more than just a rich ingredient of our diet. We could say that it is an authentic distinguishing feature of our gastronomy in Spain and abroad. Tourists succumb to its splendid aroma and taste. While for us it is a delicacy that we just can’t do without in our menu. Indeed, many homes can boast of having a leg of ham in their kitchen ready and waiting for any type of food pairing.
Although the majority of us love enjoying a delicious slice of Iberian, Serrano or acorn fed Iberian ham, the truth of the matter is that there are very few of us who actually know to cut ham from start to finish. It is an art that you must learn so that you don’t lose the essence or any of the nuances of the ham, and you don’t cut or injury yourself either. Pay a lot of attention as we tell you in great detail how to carve Iberian ham or any other speciality.
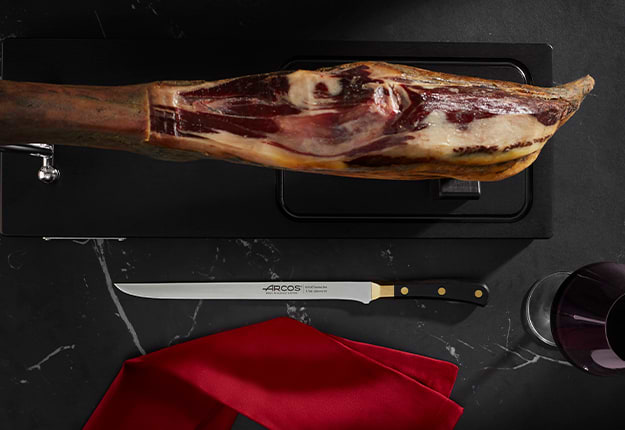
It is just as important to have the basic utensils and knives handy to cut and carve ham at home as it is choosing a good leg of ham. Here is the list of the essentials required to be able to savour this delicacy:

From the beginning: how to put a ham in the ham stand to start carving
After choosing the type of ham at your charcuterie and deciding where it is going in your kitchen, the first thing you must do to carve the ham in a professional way is to put your ham in the stand. It seems stupid, doesn’t it? Well, it is really important that you learn how to position it correctly so that you can carve the ham easily and the make the most of each part of the leg of ham.
Normally, the ham is always put in the ham stand with the hoof facing upwards, in this way you will be able to start carving the ham from the area called the maza (the largest, juiciest and most tender part at the back of the leg). Although it will all depend on whether it is going to be consumed quickly or if it is going to last for some time. At about two fingers, approximately, from the “hock bone” (a small protrusion on the leg of ham that is used as a guide to start carving) make a cut at 45º that will be used to mark the area of the initial cut.
The rind and outer oxidized yellowish fat layer of the leg of ham has to be removed so that it is as ready as possible. Make sure that you have completely cleaned off the yellow coloured fat that makes it taste more bitter and mouldy.
How to start carving a leg of ham
Now that you have learned how to put a leg of ham in the ham stand to start carving, it is time to get down to work and reveal the true ham carving professional that is hiding inside you. How? By following each one of these steps:
Before starting to carve, make sure that your leg of ham is held securely in place in the ham stand so that it won’t move when you are carving.
Let’s begin at the top end, which is known as the caña area that is the closest to the hoof. Tilt the knife and make a deep cut that is perpendicular to the leg, just below the hock. Remove the rind from the area and the yellow fat, as aforementioned. Remember that you only need to clean the area that you intend to carve now, nowhere else.
Then you will be ready to start carving slices. To do this, you must carve in the direction that is marked by the ham axis.
When you start carving the ham the hip bone will appear. With the help of a sharp knife you will have to cut around it. To make the most of the meat on the leg of ham use a boning knife.
When you have completely finished carving off the ham on the maza area, turn the leg of ham over and start carving the ham off from the babilla (the leaner front part of the leg). This is also called the contramaza.
You will find other bones here as well, that of the babilla and the You will have to cut around both of them to get thin quality slices.
Not only can you carve delicious slices of ham, after that you can start cutting the Iberian ham into small cubes to use in mouth-watering recipes. You can even cook the bones to make a tasty homemade broth.

1. What side of a leg of Iberian ham do you start with?
To make sure that you enjoy it all without losing any of its quality, ideally start carving on the side where the hoof is facing upwards.
2. How to carve the ham into perfect slices
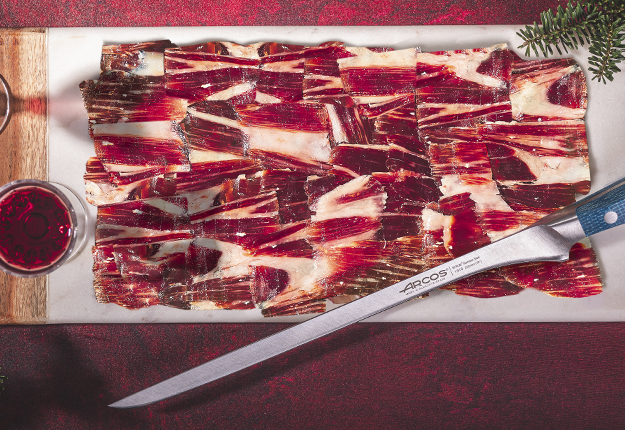
To get very thin slices of ham start carving downwards from the highest point. Don’t worry, if you see that the slices are much smaller and shorter in the beginning, as you progress you will see how you carve bigger perfect slices off your leg of ham.
You will have to carve the first slice of ham by sliding the knife forwards for you own comfort and to maintain the line of the cut of the ham. The rest of the slices are carved towards you very carefully.
If you practice and you get the knack of it you will definitely be able to carve slices of ham just like the real professionals.


3. Professional ham carving: avoid the bones and do it in stages
You will have to mark each bone that appears while you are carving with your own boning knife. This is how you will avoid reducing the number of slices and ensure the highest yield from your own leg of ham.
The carving must always be done in stages to carve around the area of the fibula bone and the ball of the femur. Easy and simple.
Step-by-step video: How to carve a ham | Tips
In this video, you’ll learn essential techniques for professional carving. From selecting the right side to achieving perfect slices, we’ll guide you through each step.
Now that you have got this far we hope that it is clearer for you how to carve a leg of ham. The next step is to put what you have learned into practice and try it out on the new leg of ham that is already in your kitchen. We assure you that if you follow our steps you will definitely enjoy the exquisiteness of this rich pork or Iberian pork delicacy.


